Essential Guidance
Before You Begin
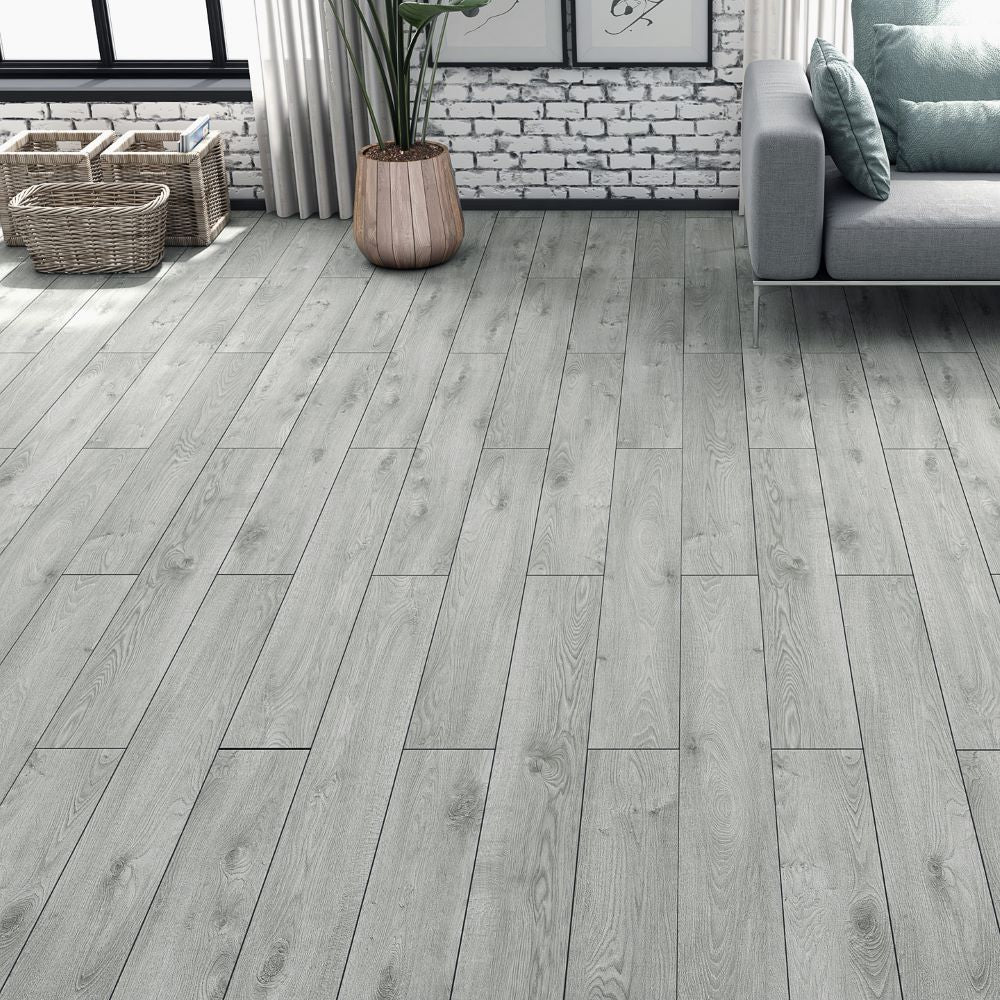
Check the flooring, prepare the space properly and make sure the subfloor is ready before installation starts.
Suitable Surfaces
- Dry, solid and well-bonded floors.
- Clean concrete and prepared mineral bases.
- Wood floors with plywood over the top.
- Tiles with grout lines filled level.
- All surfaces must be dust free.
Unsuitable Surfaces
- Rough or uneven bases.
- Carpet and thick underlay.
- Flood-prone or damp rooms.
- Saunas and wet concrete floors.
- Areas with long-term extreme heat.
Important Warning
Do not remove old resilient flooring without checking first. Some older materials may contain harmful substances.
Preparation
Subfloor and Room Prep
Before Installation
- Acclimatise the flooring for 48 hours.
- Check planks for visible defects.
- Make sure codes and quantities are correct.
- Installed planks are treated as accepted.
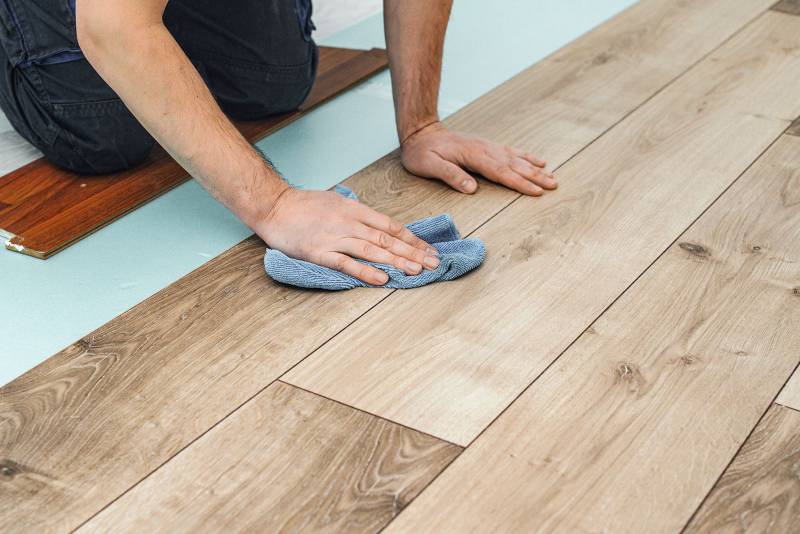
- Remove old glue and residue before fitting.
Subfloor Requirements
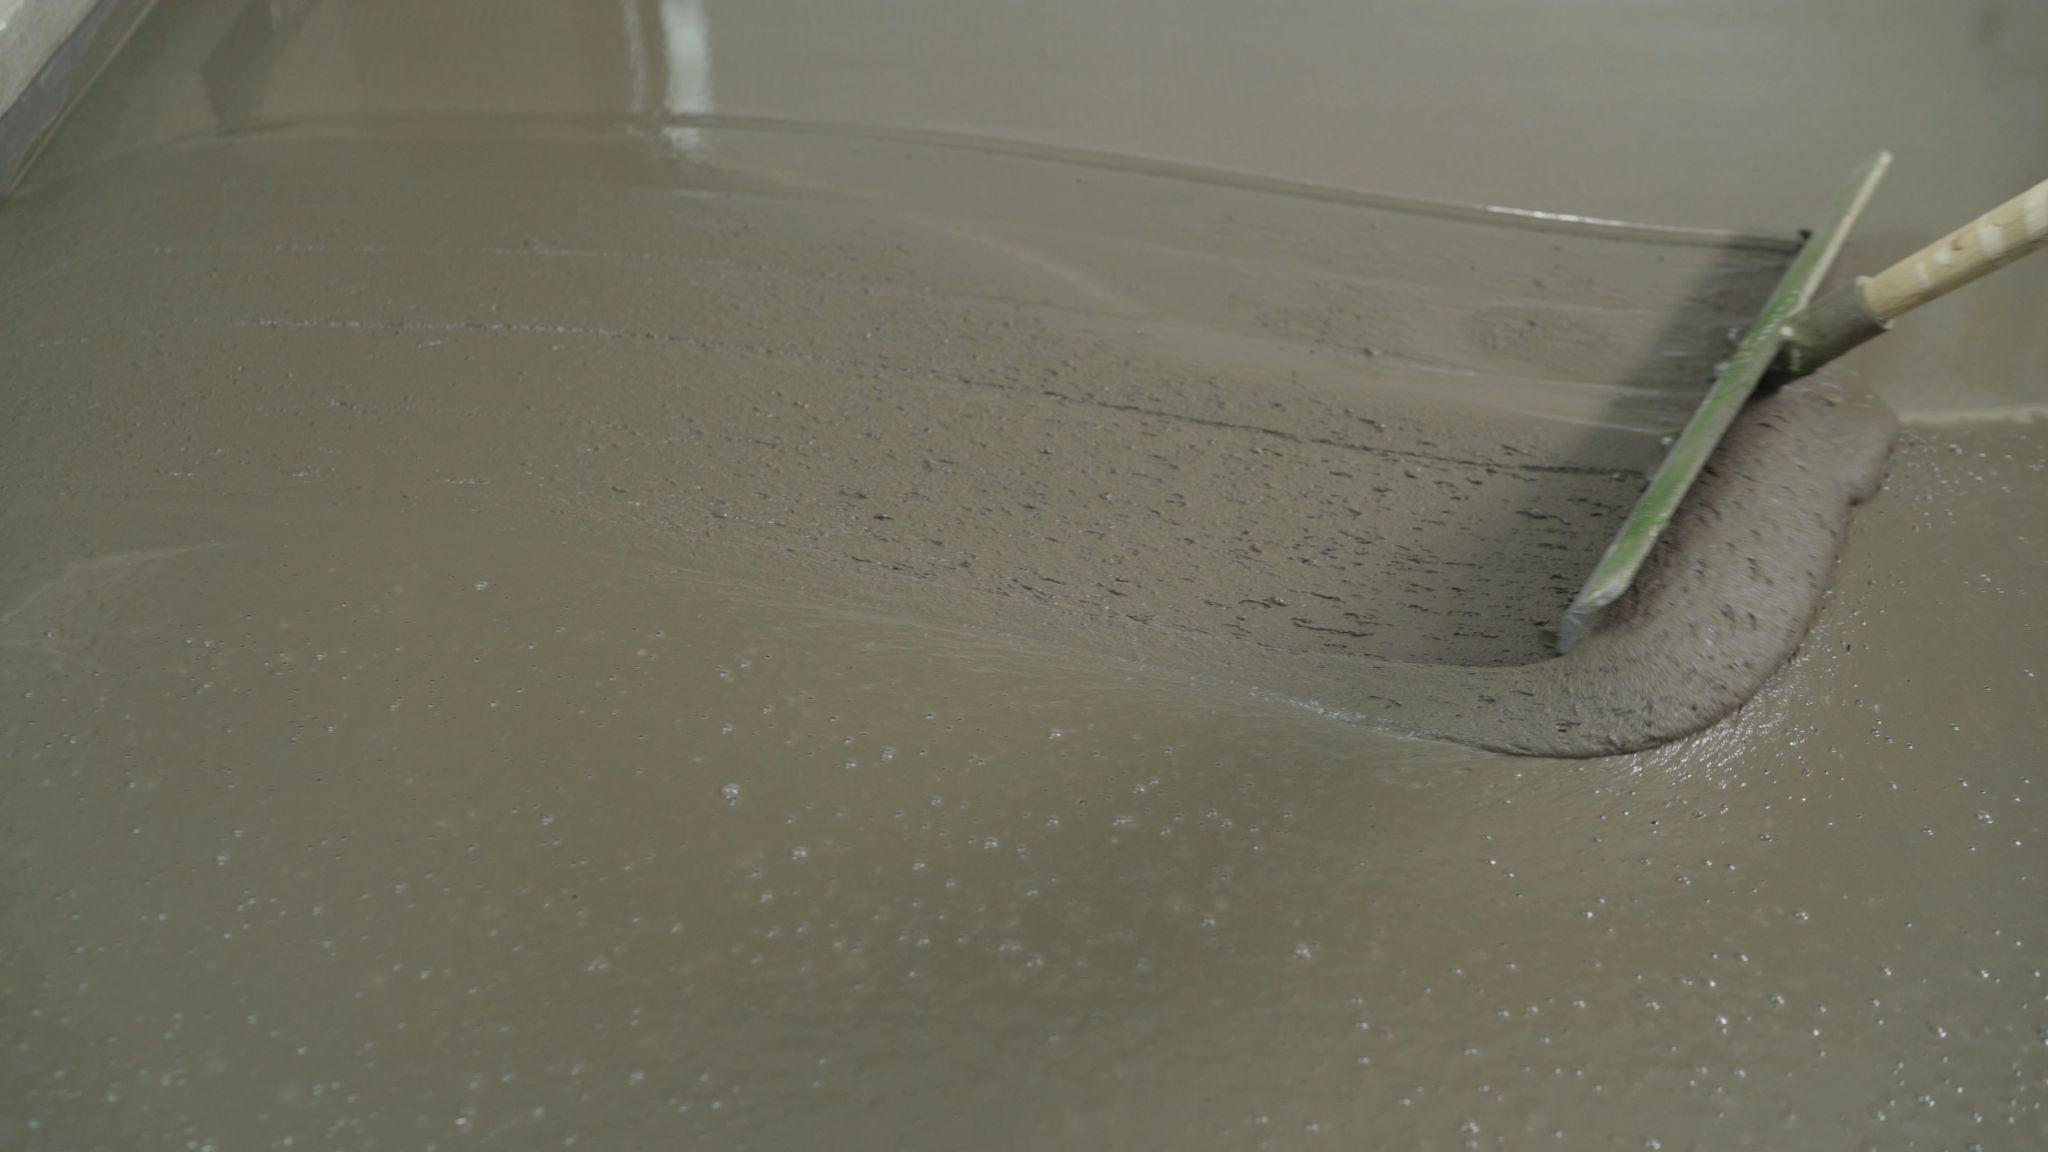
- New concrete should dry for at least 60 days.
- Wood plank floors need plywood over the top.
- Nail heads must sit below the surface.
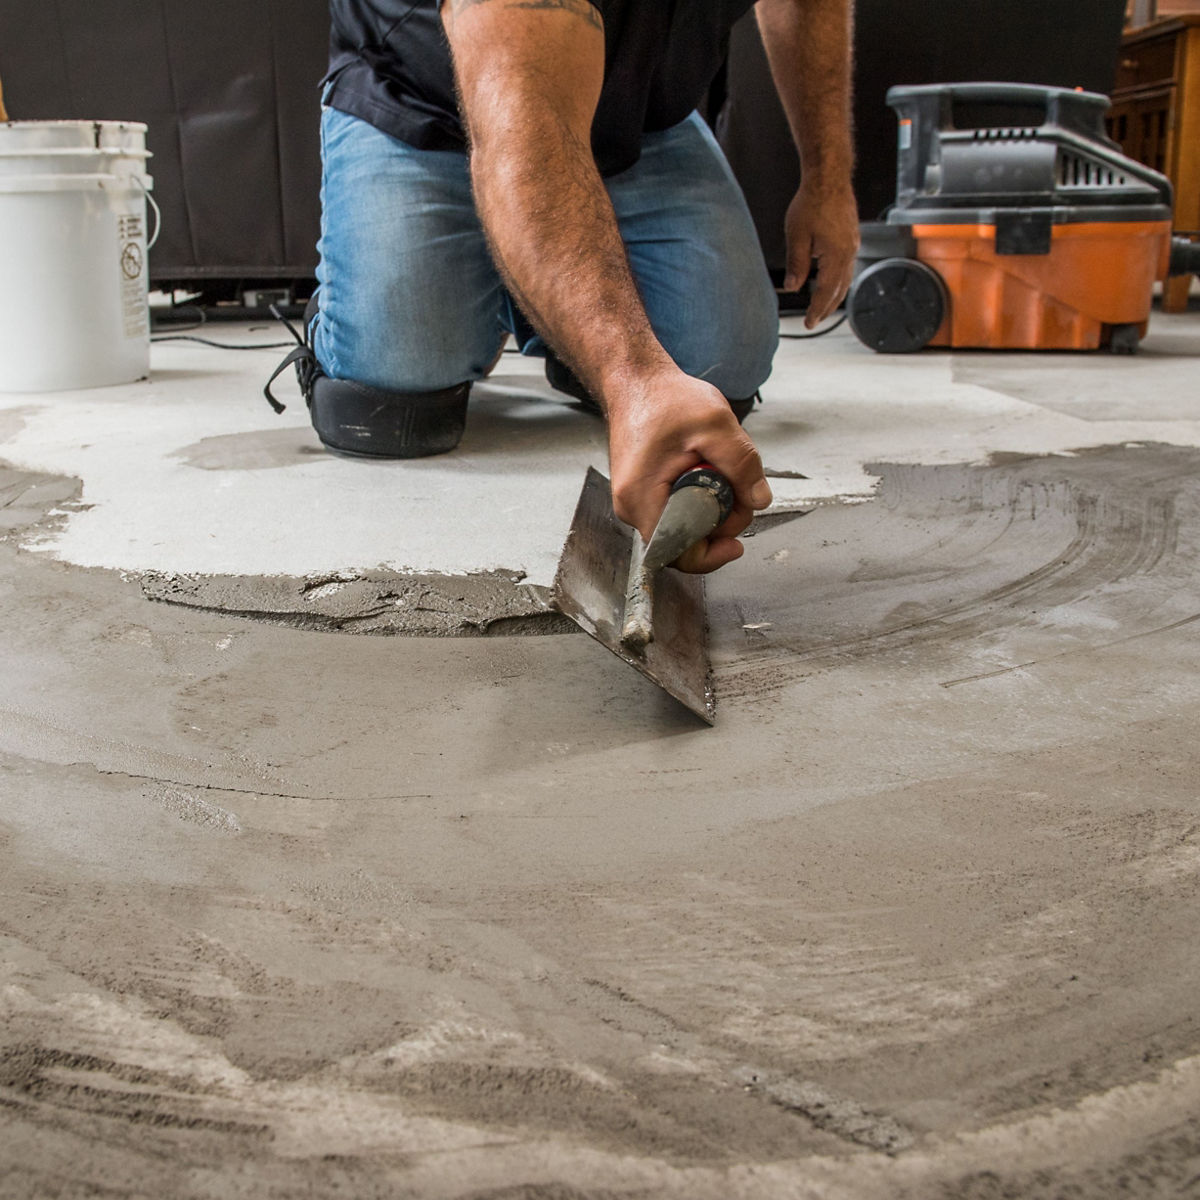
- Level holes, cracks and uneven boards first.
- The subfloor must be smooth, clean and dry.
Area Limits
- Maximum room length: 60' (18.29 m).
- Maximum area: 350 m².
- Larger spaces may need transitions.
- Fully adhered fitting must follow adhesive guidance.
Tools and Supplies
- Saw and ruler
- Tapping block and rubber mallet
- Spacers and pencil
- Tape measure and safety goggles
Fitting Guide
Installation Steps
01
Start the First Row
Begin in a corner with the tongue side facing the wall and leave the correct expansion gap with spacers.
02
Connect the Next Plank
Lock the next plank carefully into place and tap joints lightly until the boards sit flat.
03
Cut the Last Plank
Mark the final piece accurately, cut it to size and fit it back into position.
04
Stagger the Pattern
Use off-cuts where possible and keep joints staggered for a balanced, professional layout.
05
Fit the Second Row
Engage the side joint first, lower the board and lock the end joint carefully into place.
06
Cut the Final Row
Measure against the wall, allow for the expansion space and cut the final row neatly to size.
07
Door Frames and Vents
Mark all cut-outs carefully and leave enough space around fixed obstacles and vent openings.
08
Trim Door Frames
Trim frames to the correct height so the flooring slides underneath cleanly, then remove spacers at the end.
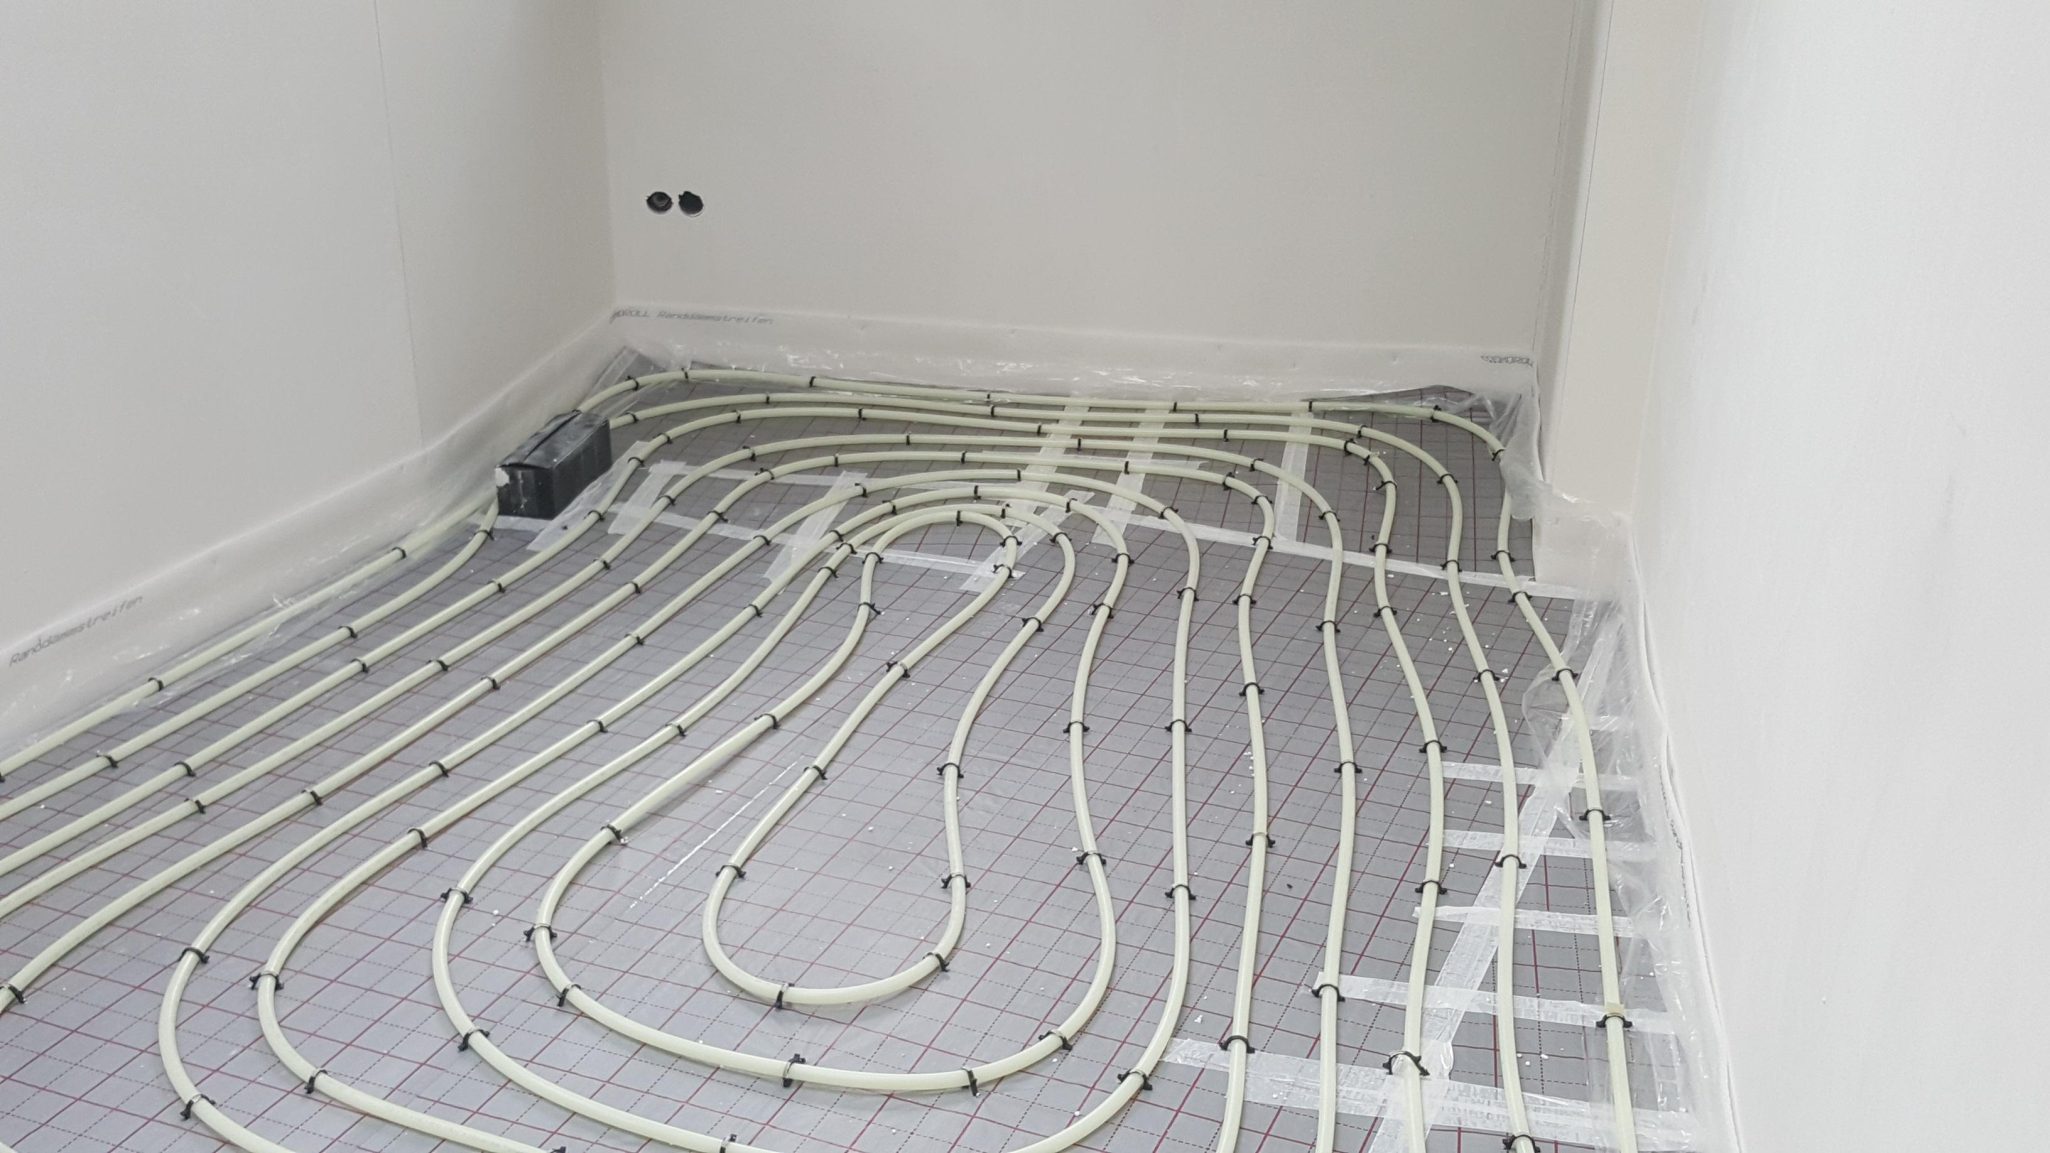
Underfloor Heating
UFH Guidance
Before Fitting
- Mix planks from 2–3 cartons while fitting.
- Allow around 10% extra for cuts and waste.
- This product is suitable for UFH.
- Screed moisture content must not exceed 1.5%.
- Switch the heating off 48 hours before fitting.
System Requirements
- The heating system must be tested first.
- It should run for at least 3 weeks before installation.
- Read the UFH and flooring instructions fully.
- Wait 4–5 days after installation before restarting.
- Increase temperature by 2–3°C per day only.
Never Do
- Do not create dramatic temperature swings.
- Do not create hot spots.
- Do not exceed a 27°C floor surface temperature.
- Do not cover the floor with heavy rugs.
Care Guide
Care and Maintenance
Everyday Cleaning
- Sweep regularly to remove grit and dust.
- Use a damp mop or cloth for routine cleaning.
- Wipe up spills quickly, especially around edges.
- Keep damp subfloors under control at all times.
General Care
- Flooring may be slippery when wet.
- Do not use wax or abrasive cleaners.
- Reduce strong direct sunlight where possible.
- Keep spare planks for future repairs.
- Protect the floor during other building works.
Protect the Floor
- Use protective pads under furniture.
- Keep pet nails trimmed.
- Use doormats at entrances.
- Avoid rubber-backed rugs if possible.
- High heels and grit can damage the surface.
Staining Caution
Some nails, fasteners and solvent-based adhesives can cause staining or discolouration. Always use suitable installation products.
Warranty Information
Residential and Light Commercial Cover
Residential Installations: 25 Years
For 25 years from purchase, the floor is covered against manufacturing defects and qualifying wear or staining when installed and maintained correctly.
- Within one year: material and reasonable labour covered.
- Within two years: material plus 50% of reasonable labour covered.
- After two years: replacement material only.
Light Commercial Installations: 10 Years
The light commercial warranty applies to selected lower-traffic commercial spaces such as hotel rooms or cafés.
- Within one year: material and reasonable labour covered.
- Within two years: material plus 50% of reasonable labour covered.
- After two years: replacement material only.
What Is Not Covered
- Improper installation or maintenance.
- Gapping, tears or indentations.
- Normal wear, gloss change or staining from misuse.
- Exterior applications.
- Subfloor structural issues.
- Damage from extreme heat or freezing temperatures.
Claims
- This warranty applies only to the original purchaser.
- Proof of purchase is required.
- Wear claims must show a visible affected area.
- Claims should be made through the original authorised dealer.
Need expert support?
Get the fitting details right before installation
The right preparation protects the finish, the performance and the warranty. Our team can help you check subfloors, fitting conditions and the next steps before work begins.

 Guide
Guide
 Guide
Guide
 Product Comparisons
 Room-by-Room Advice
 Room-by-Room Advice