Overview
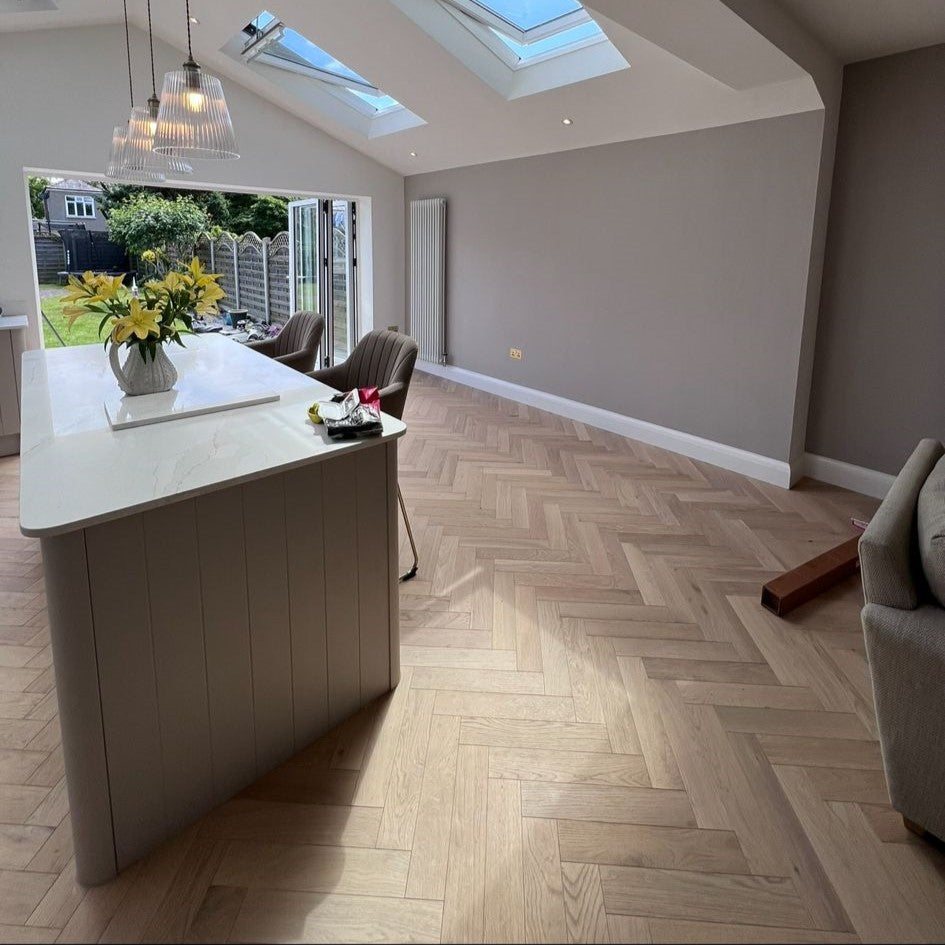
A timeless parquet style that depends on precision
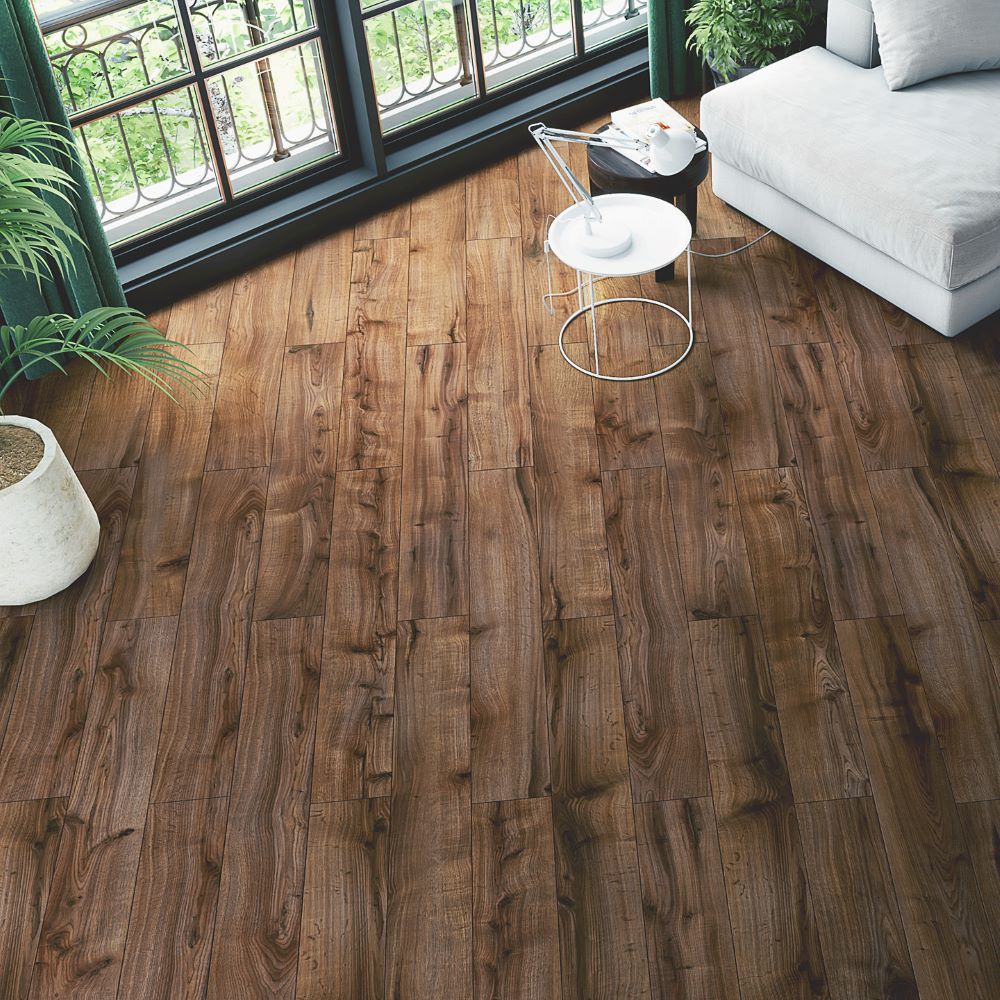
Herringbone flooring creates a distinctive, premium look, but it also demands more planning and accuracy than standard plank installation. Each board must be positioned correctly to maintain a balanced and continuous pattern throughout the room.
This guide is designed to help customers and installers understand the essential principles before fitting begins, from site preparation and subfloor suitability to layout planning and final finishing.
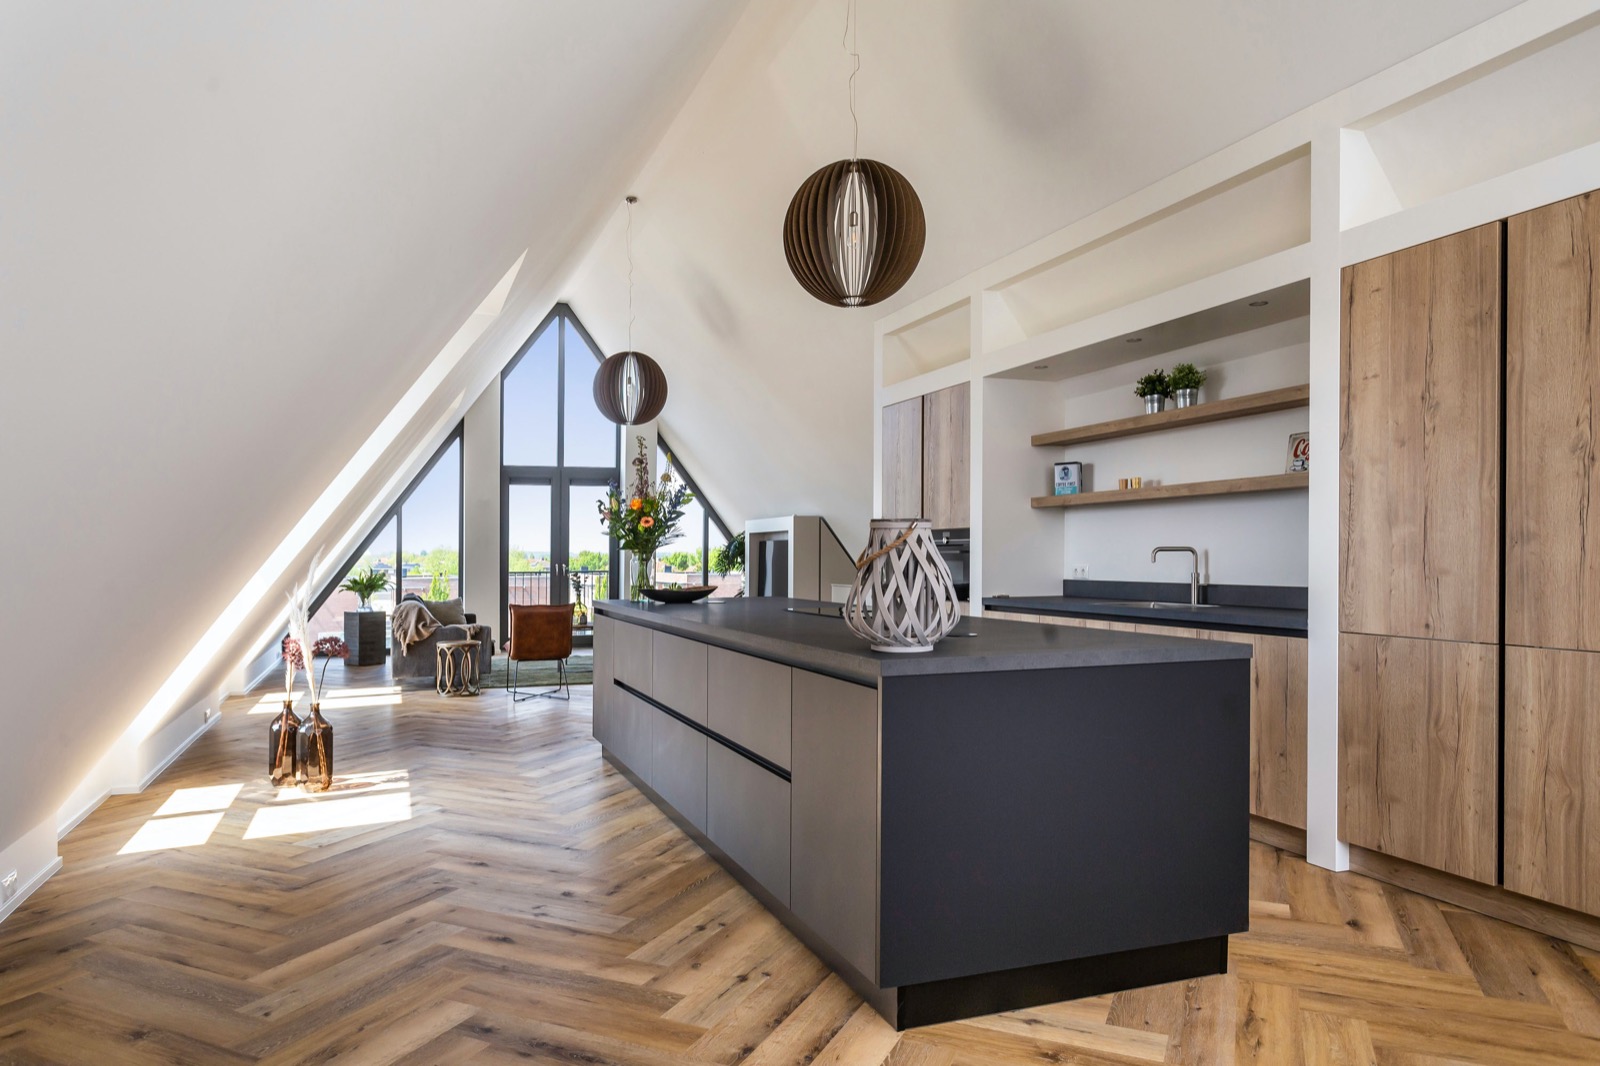
Herringbone flooring offers a refined and timeless finish, but the final result depends heavily on careful preparation, clean alignment and a well-planned layout.
Preparation
Before you start installation
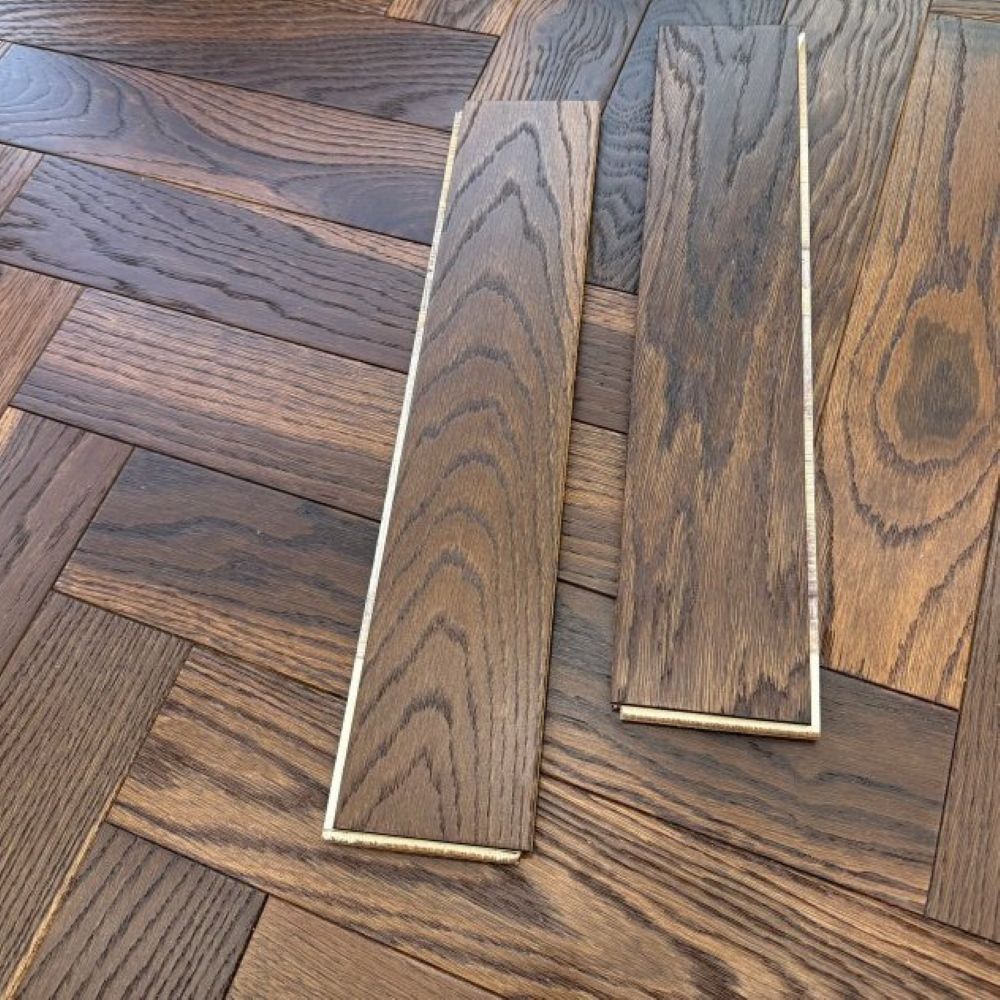
Herringbone boards should be acclimatised on site in their original packaging before installation. The room should be dry, enclosed and conditioned, with stable temperature and humidity before fitting begins.
Each pack should be checked carefully in natural light so any damaged, scratched or unsuitable pieces can be set aside before use. As with all real wood flooring, colour and grain variation are part of the product and should be blended naturally during installation.
Before fitting, make sure that:
- The flooring has acclimatised on site for at least 48 hours, and longer in colder conditions where needed.
- Room temperature and humidity are stable and suitable for wood flooring.
- All planks are checked before installation.
- The boards are arranged and blended to avoid heavy clustering of light or dark tones.
- The installation area is suitable for wood flooring and not a damp room such as a bathroom.
Pattern flooring should always be checked and planned carefully before fitting. Once installed, the product is considered accepted in appearance and finish.
Preparation
Subfloor Requirements
Before laying herringbone, make sure the base is flat and ready with our subfloor requirements guide.
Read guide
Subfloor
Subfloor requirements
The subfloor must be clean, dry, stable and especially level before herringbone flooring is installed. Pattern floors are less forgiving than standard plank layouts, so unevenness can quickly affect alignment and the final visual result.
General requirements
- The subfloor should be clean and free from dust, debris and surface contamination.
- It must be stable and suitable for the selected installation method.
- Unevenness should be corrected before installation begins.
- Moisture levels must be controlled and suitable for wood flooring.
Why it matters
- An uneven base can lead to creaking, movement, gaps or visual irregularities in the pattern.
- Moisture issues can affect long-term performance and floor stability.
- A stable and flat surface helps keep the herringbone layout balanced and professional.
A flat and stable base is especially important with herringbone flooring, where accurate alignment and tight pattern control are essential from the first row onwards.
Method
Recommended installation method
Herringbone flooring is best installed using a full glue-down method. This helps minimise movement, supports long-term stability and gives better control over alignment across the full pattern.
Because herringbone layouts involve repeated directional changes and precise board placement, a fully bonded installation is usually the most reliable and professional approach.
Why glue-down is preferred
- It helps reduce movement in the pattern over time.
- It supports a more solid, premium feel underfoot.
- It allows more accurate control during fitting.
- It is generally the best option for maintaining a clean and consistent parquet layout.
Where other installation methods are considered, they should only be used if fully appropriate for the product, subfloor and room conditions. For most herringbone applications, full bonding remains the preferred approach.
Layout
Layout and pattern planning
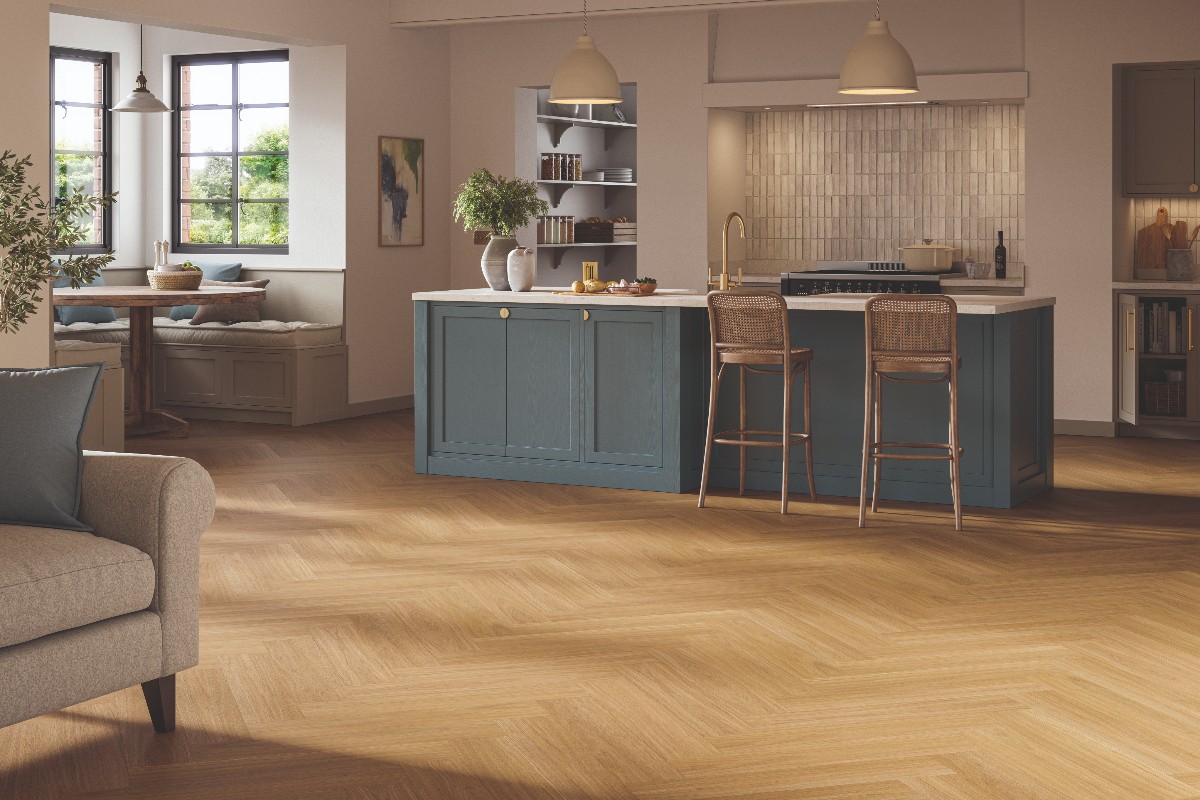
Good layout planning is one of the most important parts of herringbone installation. The starting line, board orientation and spacing all affect the final visual balance of the room.
Depending on the product and room, installers may begin from the longest wall or establish a centred reference line to keep the pattern symmetrical and visually balanced.
Key layout points
- Make sure left and right boards are identified and used correctly where applicable.
- Plan the first rows carefully before fixing begins.
- Blend colour variation across packs for a natural result.
- Maintain a clean, continuous pattern without drift.
- Allow the correct expansion space around all walls and fixed points.
Careful planning at the start of the installation helps create a cleaner, more balanced herringbone pattern across the full room.
Fitting
Step-by-step installation flow
Although room layouts and board formats can vary, most herringbone installations follow the same overall sequence.
01
Inspect and prepare
Check all boards, confirm room conditions and make sure the subfloor is fully prepared, clean, dry and level.
02
Set out the pattern
Establish the starting line and confirm the board orientation so the herringbone pattern remains clean and balanced.
03
Bond the flooring
Install the boards carefully using the recommended adhesive method, keeping spacing, alignment and direction consistent.
04
Finish and protect
Complete the perimeter, keep expansion space free, and finish the room with trims or skirting fixed correctly to the wall.
Key fitting points
- Check the pattern regularly as the installation progresses.
- Use a consistent starting reference.
- Do not force boards into place if alignment has shifted.
- Keep expansion gaps clear around walls, doorways and fixed objects.
- Take time to maintain visual balance and clean board transitions.
Aftercare
After installation
Once installation is complete, the floor should be protected while the room returns to normal use. Newly installed wood flooring should not be exposed to unnecessary moisture, rough handling or unstable room conditions.
- Remove spacers once installation is complete.
- Fit skirting so that it does not pin the floor.
- Use felt pads under furniture legs.
- Keep indoor humidity stable throughout the year.
- Avoid excessive moisture during cleaning.
Care
Wood Flooring Care Guide
Learn how to clean and protect newly installed wood flooring after fitting.
Read guide
Important
Important notes
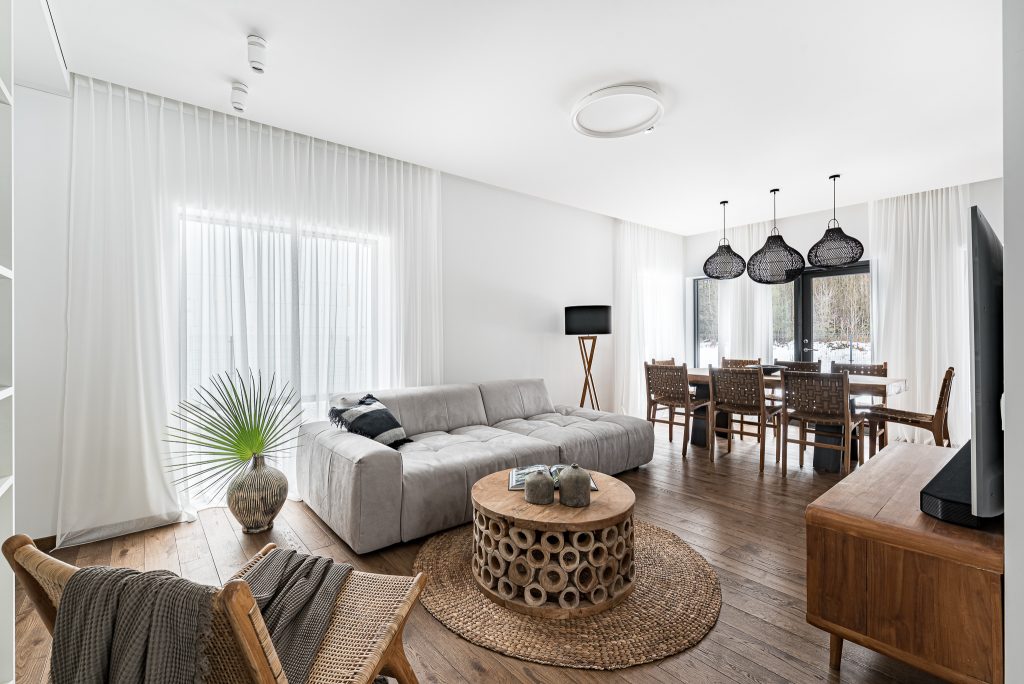
Herringbone flooring is a real wood product and natural variation in colour, grain and tone should be expected. Sunlight and normal ageing may also influence the appearance of the floor over time.
Because this is a precision parquet layout, preparation and fitting quality are especially important. A stable subfloor, correct room climate and careful installation all contribute to the final result and long-term performance.
We strongly recommend professional installation for herringbone flooring to ensure a clean pattern, correct bonding and a premium finished look.
 Guide
Guide
 Guide
Guide
 Guide
Guide
 Buying Guides
 Buying Guides
 Buying Guides